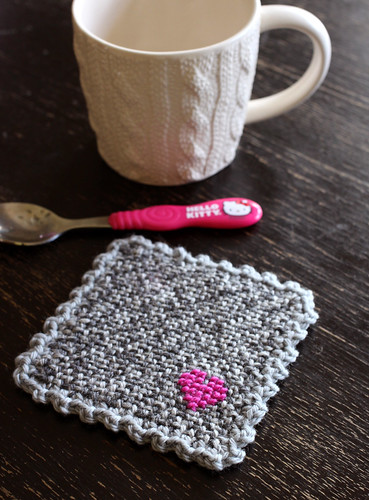
I made a few of these woven coasters with the Zoom Loom a while ago and I thought it would be fun to show you how I made them. When you weave a square with the Zoom Loom, you will notice that the woven fabric looks like a grid pattern. I thought it would be neat to cross stitch a design on it. After a few trial and errors, I got the results I wanted. I found that using a thinner yarn for the cross stitching looked way better than if I used the same weight I wove with. When I tried it with worsted weight, the cross stitching was bulky and not as clean looking.
I have seen pin loom coasters on the internet and often they just consist of 1 woven square. A coaster that is double sided is much more absorbent in my opinion. Also I like to hide the wrong side of the my cross stitching inside to give it a much cleaner look. That way, your coaster is reversible and you can also cross stitch on both sides if you like.
THE MATERIALS
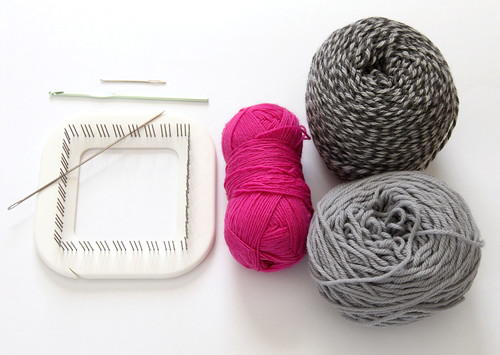
- A Zoom Loom (Your local yarn stores may carry them or you can find them online. I got mine from The Woolery.)
- 2 skeins of Worsted Weight Wool, each a different color. (I used Cascade 220.)
- 1 skein of Fingering Weight Wool, in a contrasting color. (I used what I had from my stash.)
- 1 tapestry/yarn needle
- Crochet hook size US F/3.75mm

Following the instructions for the Zoom Loom, weave 2 squares with 1 color.
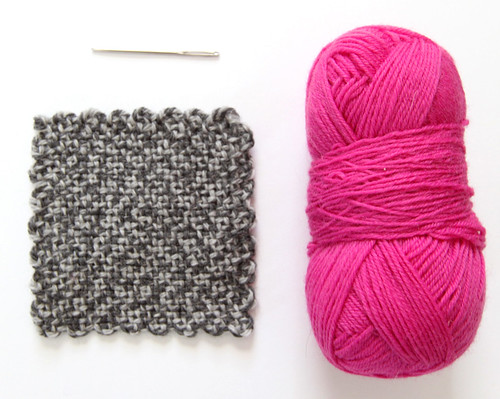
Cut a few yards of the fingering weight yarn and thread it through your tapestry/yarn needle.

Cross stitch your design. On my coasters, I chose to cross stitch a heart. I suggest using some graph paper and coloring in squares to map out your design beforehand. Each thread (horizontal and vertical) of the woven fabric represents a square of cross stitch.
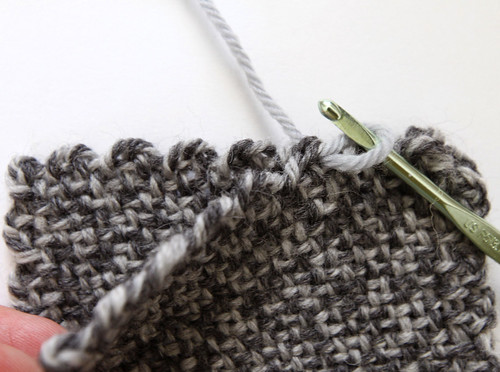
To join your woven squares, take your finished cross stitched square (right side facing you) and put it on top of the second woven square. Be sure to match up your loops on the squares. Using your crochet hook and second color of worsted weight yarn, pull a loop of yarn through both loops of the squares.
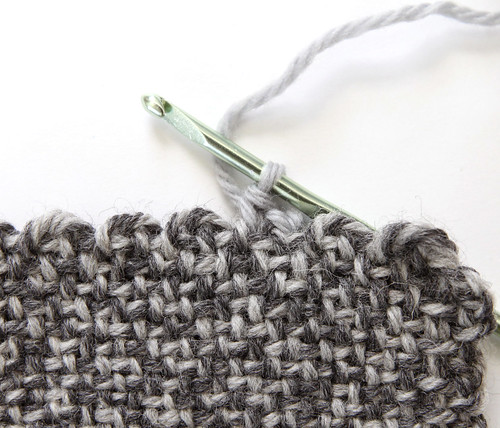
Chain 1, then SC (single crochet) into the next loops of the 2 squares.
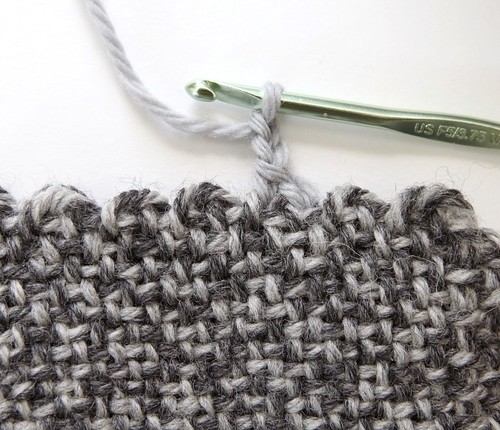
Chain 2.

SC (single crochet) into the next loops.

Another SC (single crochet) into the next loops.
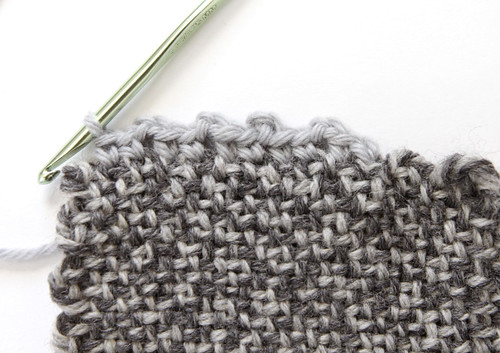
Continue around the squares to join them together. So the pattern for the edging is: *2 sc, ch 2; rep from * until the end. Finish with a sl st into the first sc. Cut yarn and weave in your ends.

The final finishing touch is to use a iron to steam the coaster. Or you can soak and dry it. Just like wet blocking in knitting and crochet, it helps even out the woven fabric and the fibers fluff up. It really makes a big difference in the final results. Since it's just a coaster, I like to use the iron to steam it.
I hope you give this a try. Have fun!